TFTP stands for Trivial File Transfer Protocol.It is a simple file transfer protocol which doesn't require any authentication.It is used for downloading files over Ethernet by TheMediaEngine and RPX-CLLF bootloaders.The bootloaders can download the kernel and RAM disk files into specific RAM locations.It is capable of configuring the target board's Ethernet hardware.Booting the ARM and PowerPC targets requires TFTP server.
Open terminal using Applications ---> Accessories ---> Terminal (or) Ctrl + Alt + t.
And type the following.
Step 1 : Install the TFTP client.
sudo apt-get install tftp

Step 2 : Install the TFTP server.
sudo apt-get install tftpd

Step 3 : Go to /etc/inet.conf and edit to configure the server.
Step 4 : Tune the tftp line as follows.
tftp dgram udp wait nobody /usr/sbin/tcpd /usr/sbin/in.tftpd /tftpboot
Step 5 : Change the permission to 755.
chmod 755 /tftpboot/

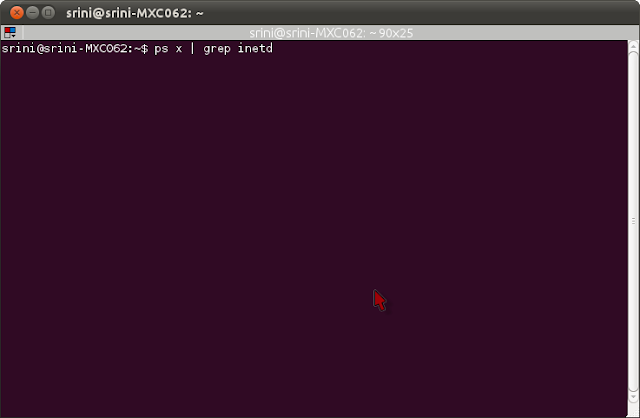
Step 6 : Get the process id using ps command.
ps x | grep inetd
Step 7 : Send HUP signal using kill command.
kill -HUP 147

Step 8 : Testing is to be done for TFTP server installation.Create a file called /tftpboot/test as root user and make it readable by all users.
echo "This is a test" > /tftpboot/test
chmod 666 /tftpboot/test

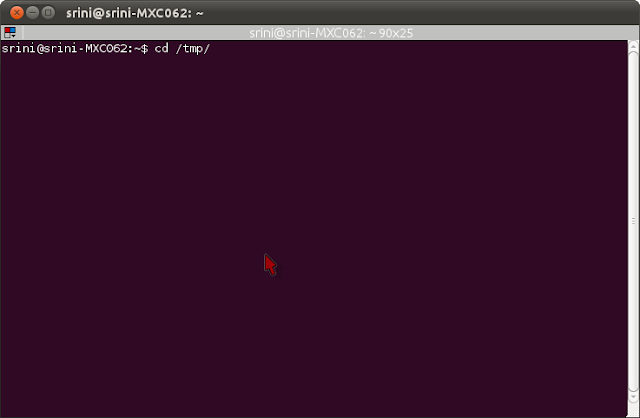
Step 9 : Change the directory into /tmp and type the following command.
cd /tmp/
tftp 192.168.1.11
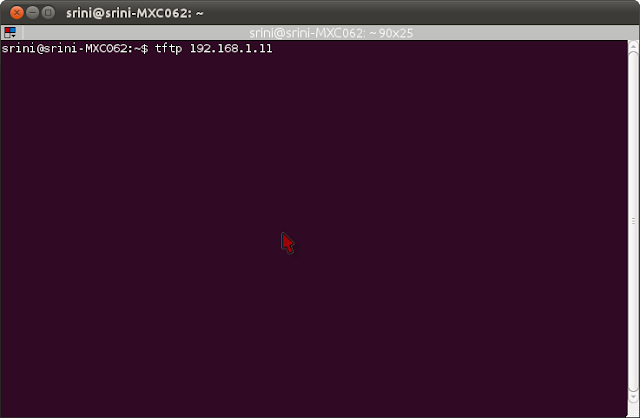
Got TFTP prompt?
Step 10 : Continue the commands.
tftp> get test
tftp> quit
You will have a file called /tmp/test.
Step 11 : Implement the test as follows.
cat /tmp/test

Done !
Open terminal using Applications ---> Accessories ---> Terminal (or) Ctrl + Alt + t.
And type the following.
Step 1 : Install the TFTP client.
sudo apt-get install tftp

Step 2 : Install the TFTP server.
sudo apt-get install tftpd

Step 3 : Go to /etc/inet.conf and edit to configure the server.
Step 4 : Tune the tftp line as follows.
tftp dgram udp wait nobody /usr/sbin/tcpd /usr/sbin/in.tftpd /tftpboot
Step 5 : Change the permission to 755.
chmod 755 /tftpboot/

Step 6 : Get the process id using ps command.
ps x | grep inetd

Step 7 : Send HUP signal using kill command.
kill -HUP 147

Step 8 : Testing is to be done for TFTP server installation.Create a file called /tftpboot/test as root user and make it readable by all users.
echo "This is a test" > /tftpboot/test
chmod 666 /tftpboot/test

Step 9 : Change the directory into /tmp and type the following command.
cd /tmp/

tftp 192.168.1.11

Got TFTP prompt?
Step 10 : Continue the commands.
tftp> get test
tftp> quit
You will have a file called /tmp/test.
Step 11 : Implement the test as follows.
cat /tmp/test

Done !

No comments:
Post a Comment